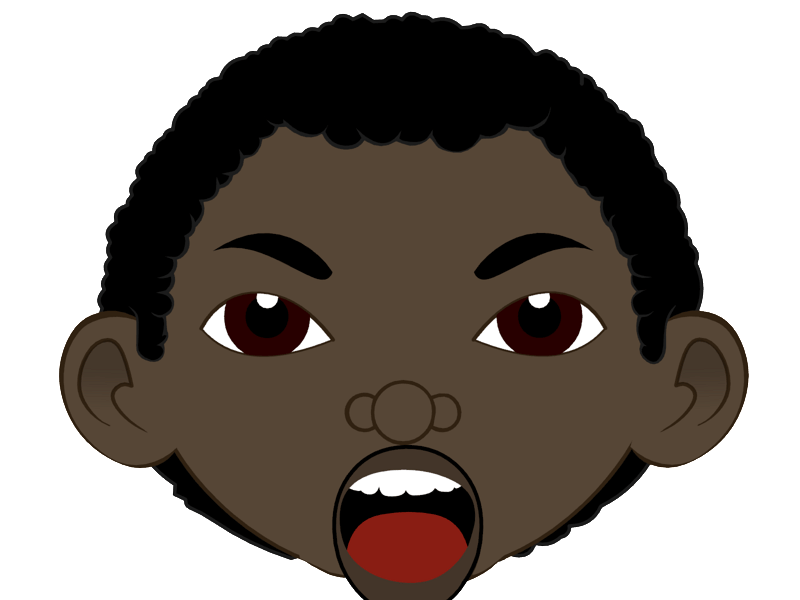
A base model, simply put, is a model of a character or object that is used as the foundation for other variations of that same frame framework. Once a base model is created, the source file for that same character, for example, can be further modified to create completely new characters, variations, or additional clothing and other wearable items. The benefit of this is that all derivative items will be fully compatible, both from a technical standpoint (joint regions, body size, structure) as well as from an artistic standpoint (formula).
Formula
A formula is a term used in animation to describe the cohesiveness of a character design within a particular Intellectual Property (IP). A successful cartoon series, movie, or presentation will always follow a specific design formula. This keeps all the characters looking and feeling like they belong within that world.
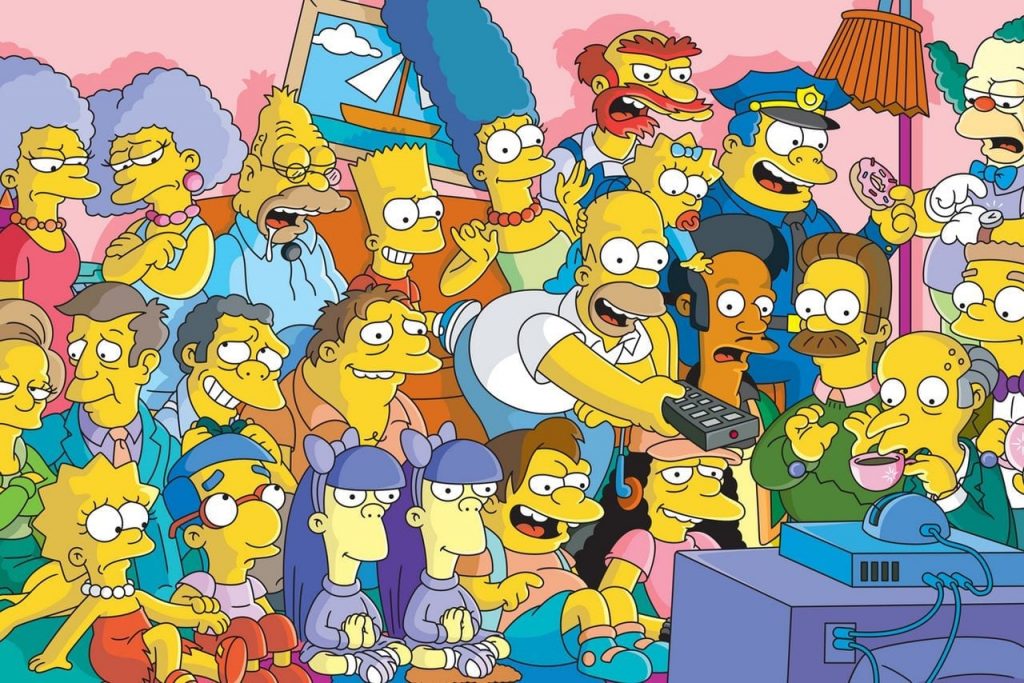
For example, in the show, The Simpsons, the formula contains such notable design elements like, big round eyes, yellow skin, three fingers and a thumb, and a rather unique mouth design. In terms of base model as it would translate to our digital medium, we would consider the character Homer Simpson as the base model. And practically every character which appears on the show is a derivative design based on the same design elements used to design that primary character, Homer. The over all look and cohesiveness of that shows character designs are all based on it’s “Formula”.
A successful show or film will always benefit from understanding and exploiting it’s own formula. So having established the importance of a cohesive design based on a formula, you can further define the characters personalities by how you manipulate the formula within the same IP. For example, sometimes the villain in your film might be better served if some of the features of that formula are modified in ways that contrast with the formula itself. If the main aspect of the formula calls for bodies drawn using soft curvy lines, having the villain(s) drawn using hard edges will often go a long way in setting them apart as the outsiders, the villains, the ones who don’y quite belong. This doesn’t mean go all out with the contrast in design. You should still maintain the overall aspect the formula, but maybe take a few of the notable features, and just alter them or make them completely opposite.
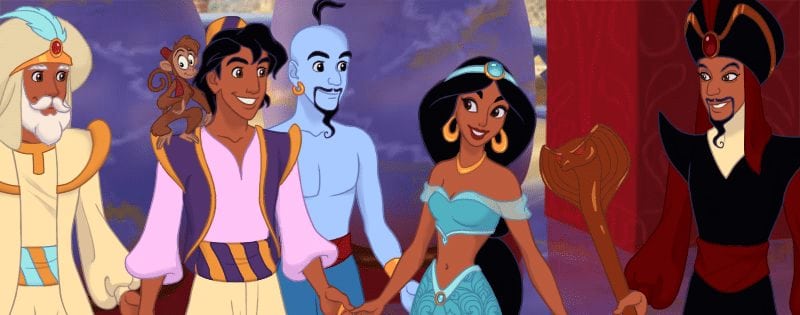
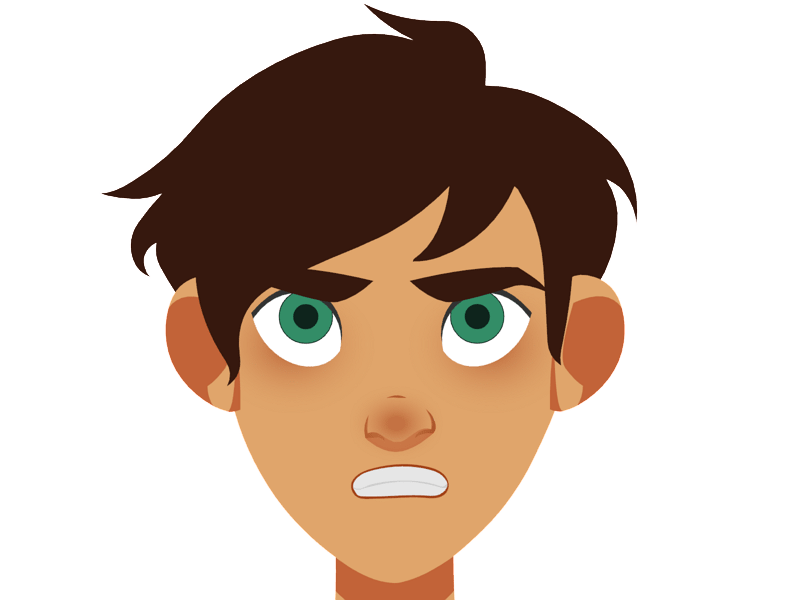
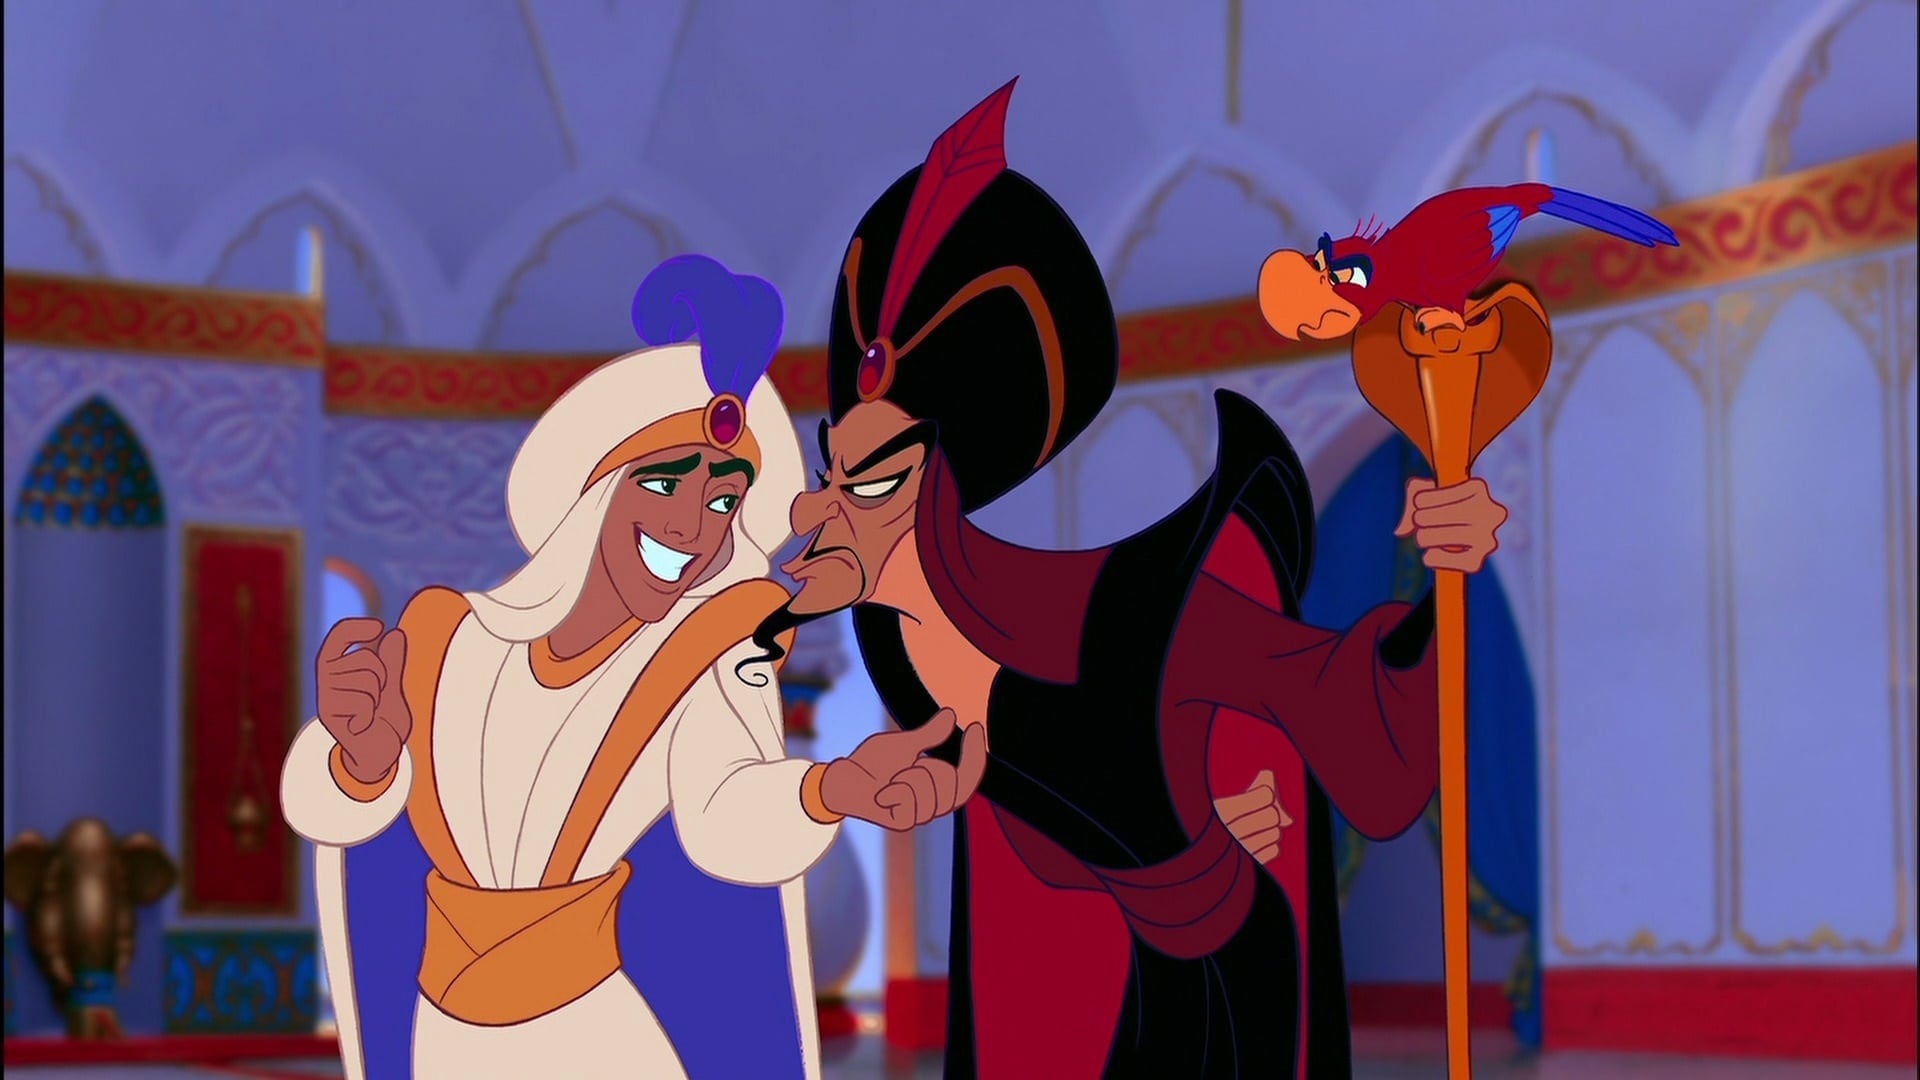 This still from the actual movie, Disney’s Aladdin, you can see that it’s perfectly possible to stay within the boundaries of a formula. But look closer at the elements that were selectively made opposite to the formula so as to emphasize the opposing natures of the hero and the villain. Round and soft face vs skinny and jagged face, tall vs short, white clothing vs black and so on.
Think about a film about friends where one is smart and the other one is an idiot, both could (and should) be designed using the same formula. Again, this establishes them from a visual standpoint as belonging to the same universe. But certain design elements such as the facial features where one face is a cone pointing downward and the other is a cone facing upwards could easily be what these characters need to visually depict that even though they belong in that same universe, they are completely different personalities.Or how about the use of color? In terms of color maybe one characters shirt is red while the other is is green (on a color wheel these two colors are opposite of each other). You can get really philosophical with colors and shapes, some colors are associated with (or flat out stereotyped) with being smart while others are stereotyped to represent stupidity, weakness, strength etc. In the image above what does the colors the hero wear say vs the colors of the villain?
The Importance of Base Models in a Modern Workflow
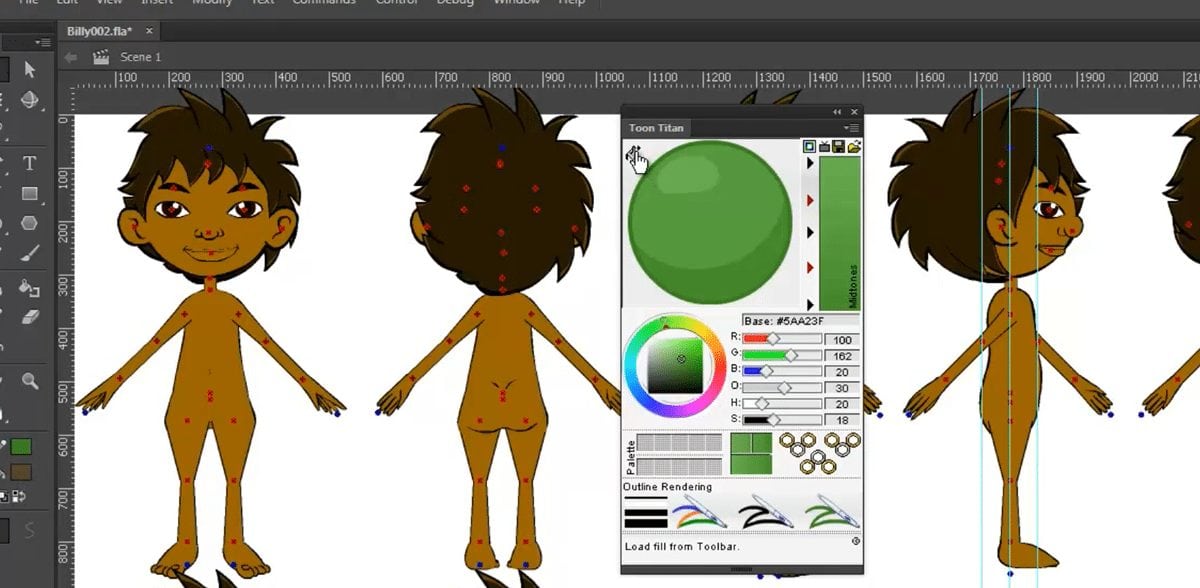
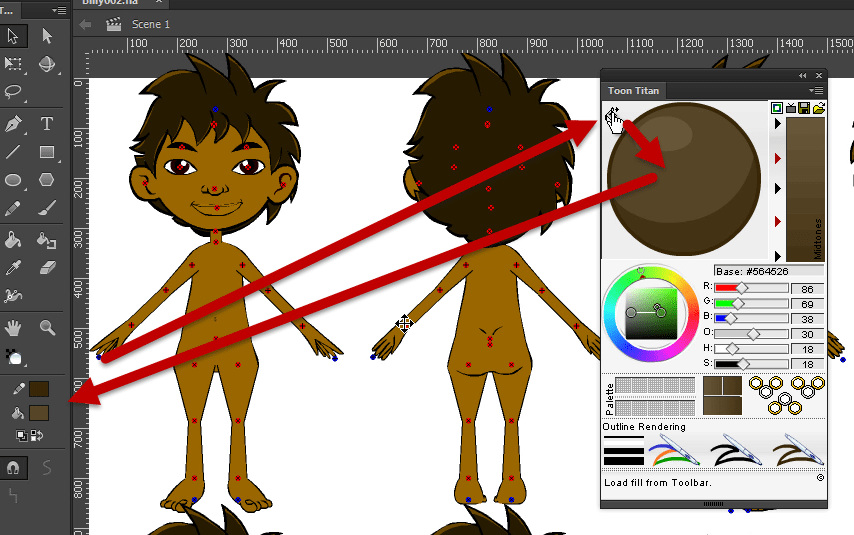
While formula and design has always played an important role in traditional production. Now a days the workflow involves the use of reusable assets, 3d models or rigged 2d character as in the case with Crazytalk Animator G2 actors. The use of base models is important in that once a base model is complete, the majority of your characters can be made as derivative characters build from that initial bases model.
A great example is in the 3d world of Daz and Poser where a base model such as Victoria is first created and based on that same model an unlimited number of child characters are made simply by altering it’s polygons through the use of additional morph targets and so on. This ensures that every shirt, pants, alternative face or body modification is 100% compatible with the base model. More importantly however is how this applies to CrazyTalk Animator Actors.
Formulas and Base Models are not mutually exclusive. While a 3D base model itself has the functionally of being modifiable through morph targets to make a character fat, skinny, old, hunched back etc, 2d Base Models are a lot more limited. For 2D characters, sometime you may need to create various base models are structured differently. Short, fat, young, old etc in order to have those variations, but you can carry that same formula across the various base models in order to maintain that cohesion. This wasn’t something most people though about traditionally since traditionally everything was just flat out drawn and the only thing you really needed to concern your self with was the formula itself. But now we have multidimensional, fully rigged 2d characters that we can exploit. And they have their limits. Therefore, if you want to have that variety of fat, or heroic or wimpy character designs but you wish to maintain cohesiveness, then just use the same design formula as you work on the various base models. If, of course the goal is to use those characters within the same IP.
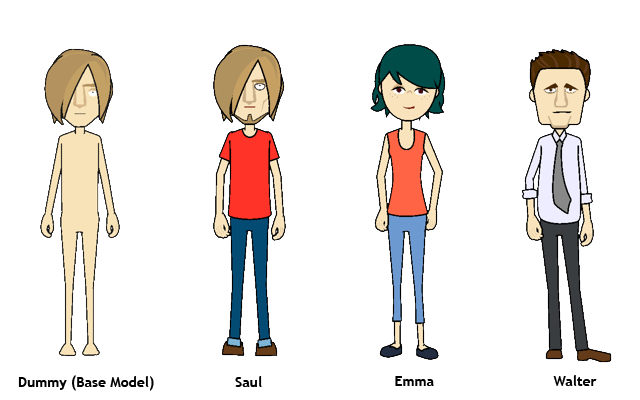
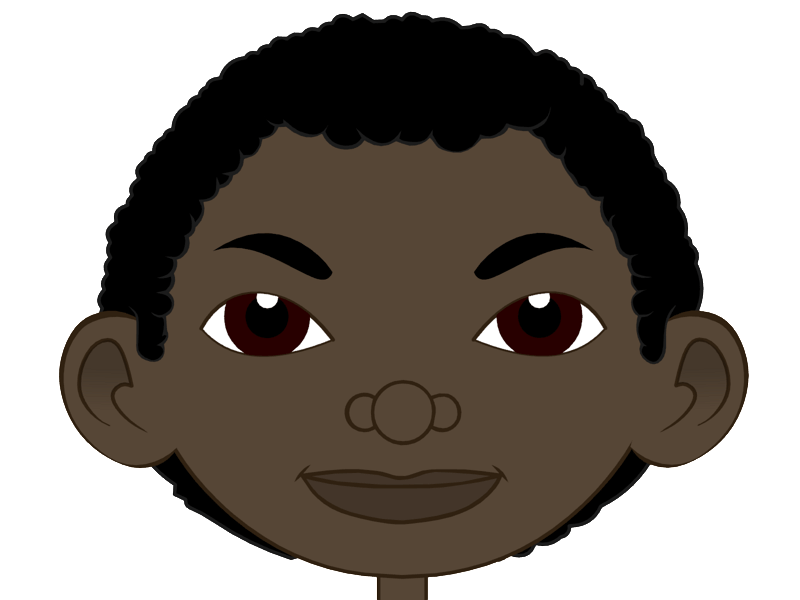
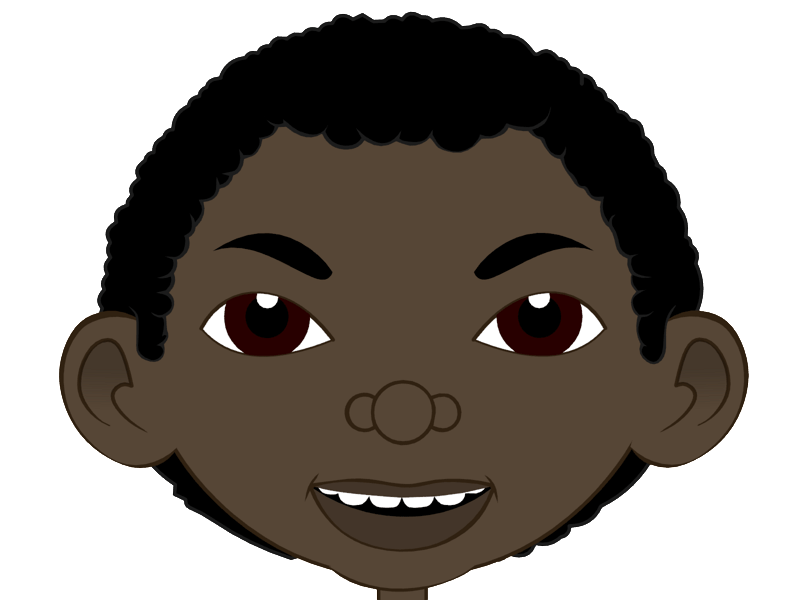
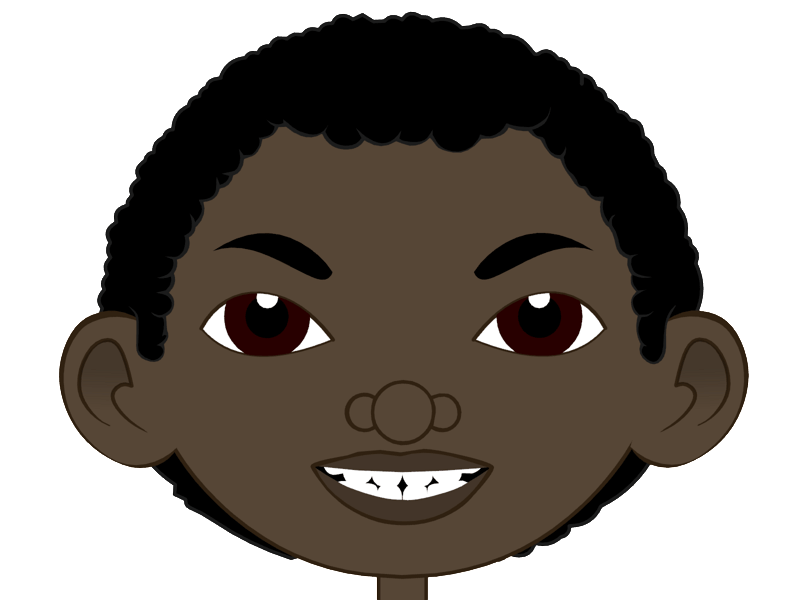
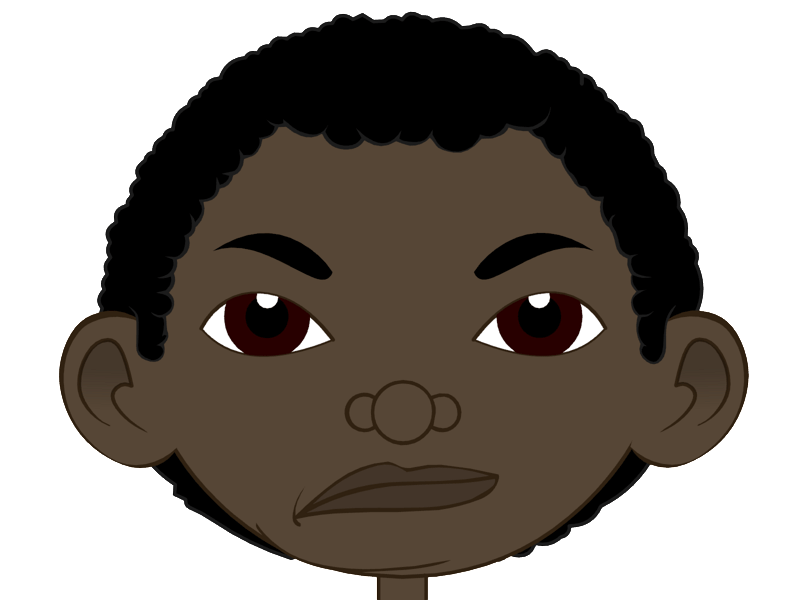
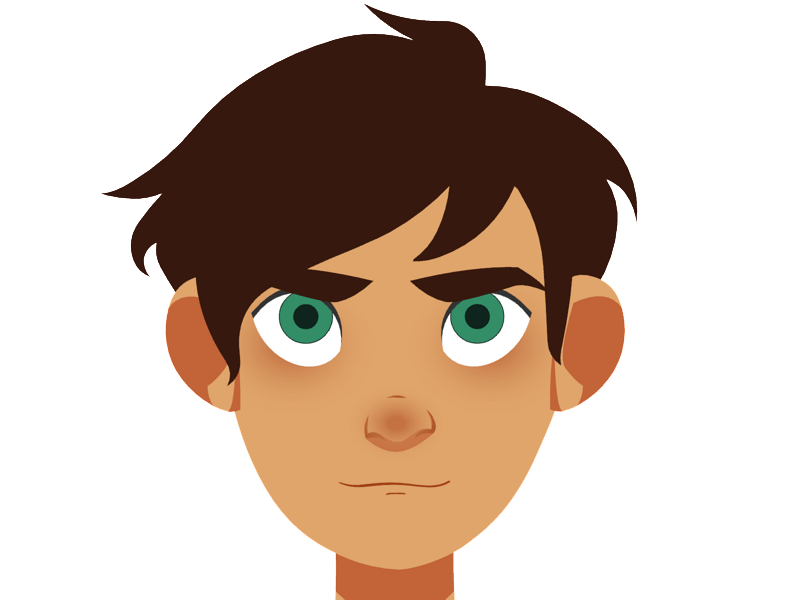
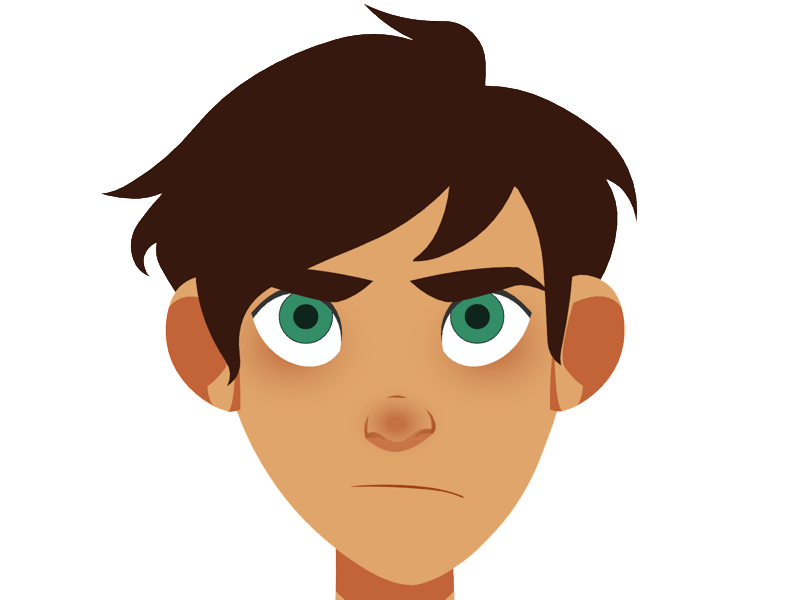
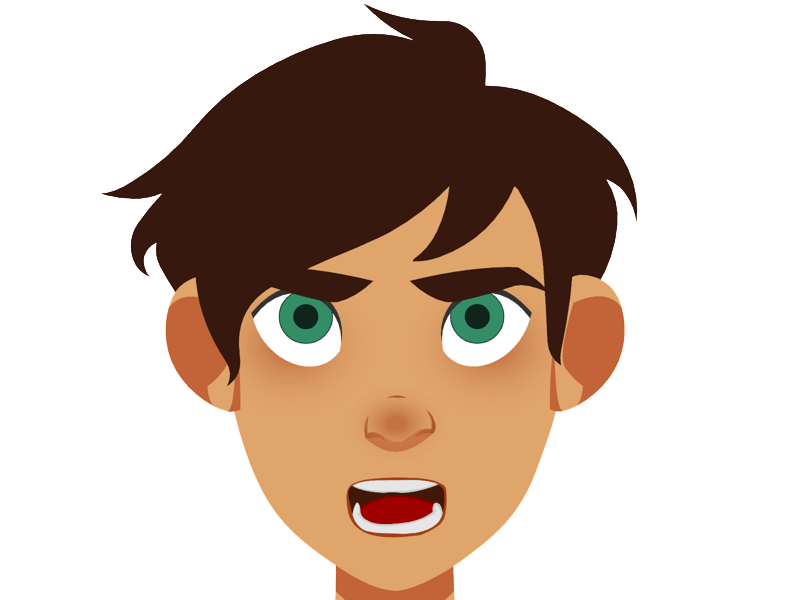
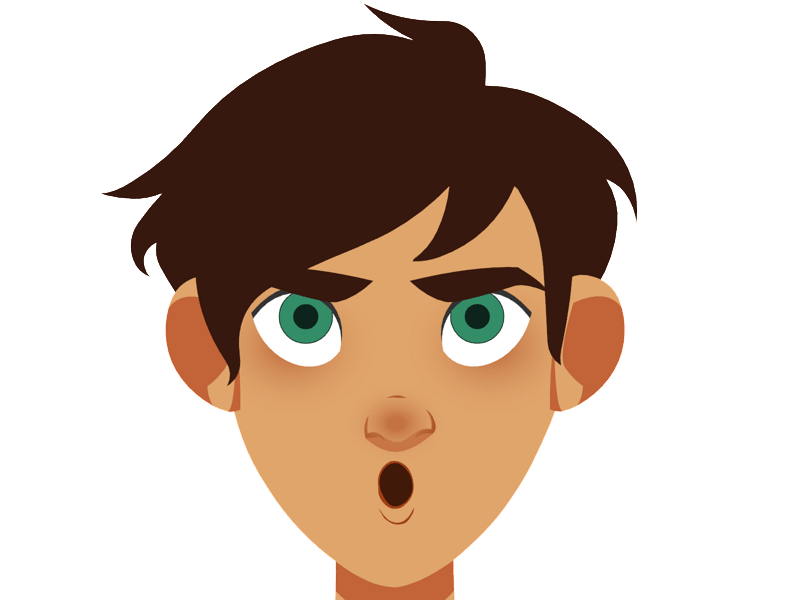
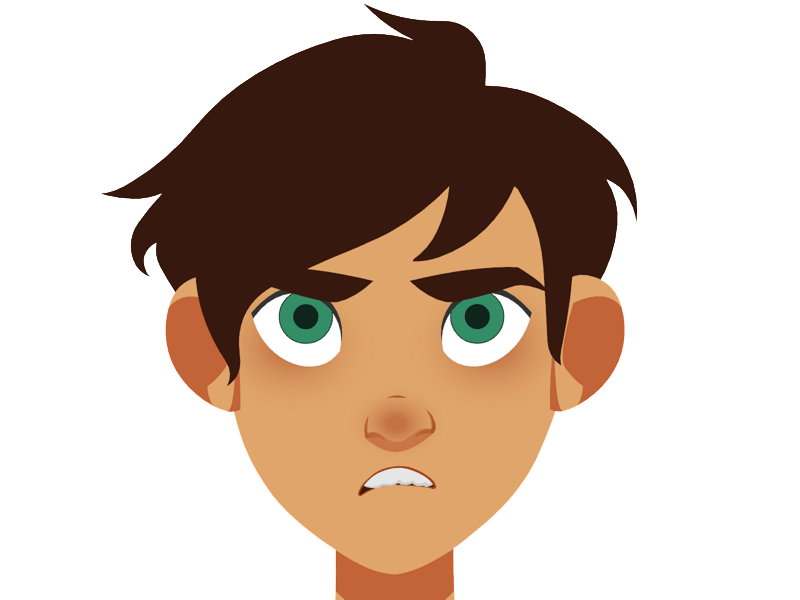
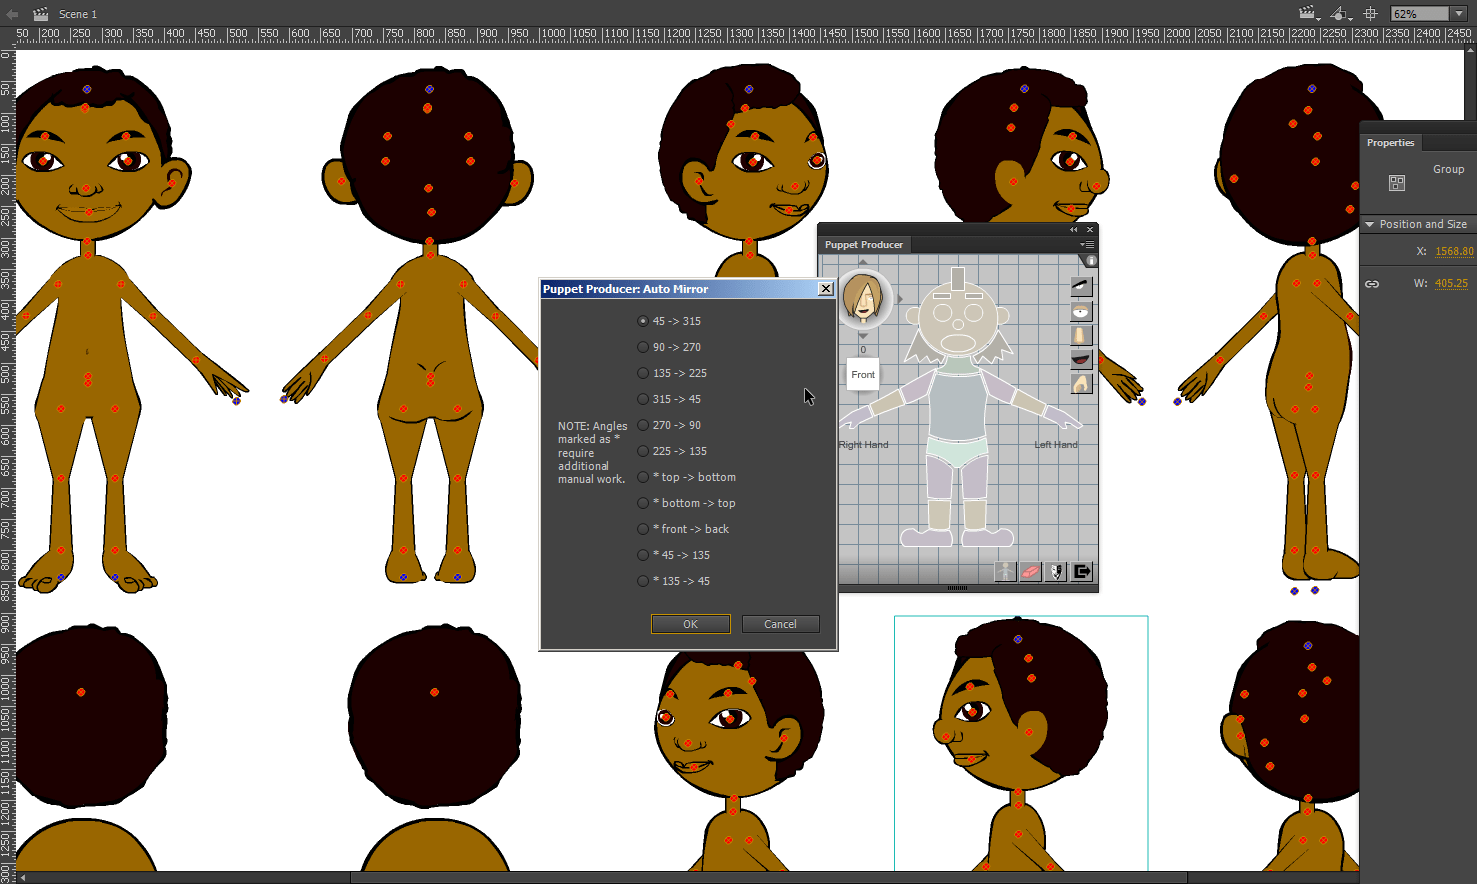
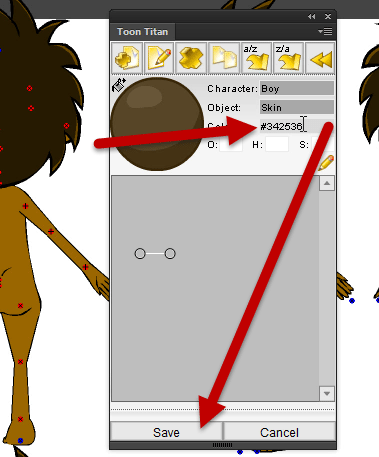
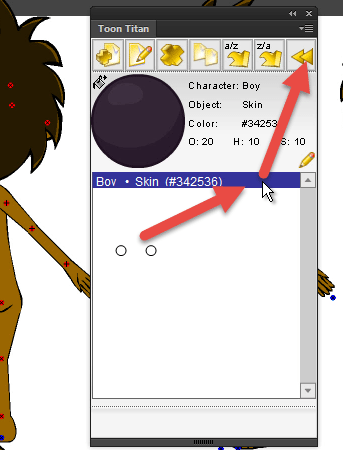
A base model is first created such as the Reallusion “Dummy”. Then by editing the base model template and maintaining the body structure and design elements intact while we do our edits, we also ensure that every new character or item we create based on that model, is 100% compatible both from a technical perspective as well as from an artistic standpoint. By merely sticking the base model and ideally also its design formula, the end result is a cohesive design style which ensures that all derivative characters immediately belong within that same cartoon world.
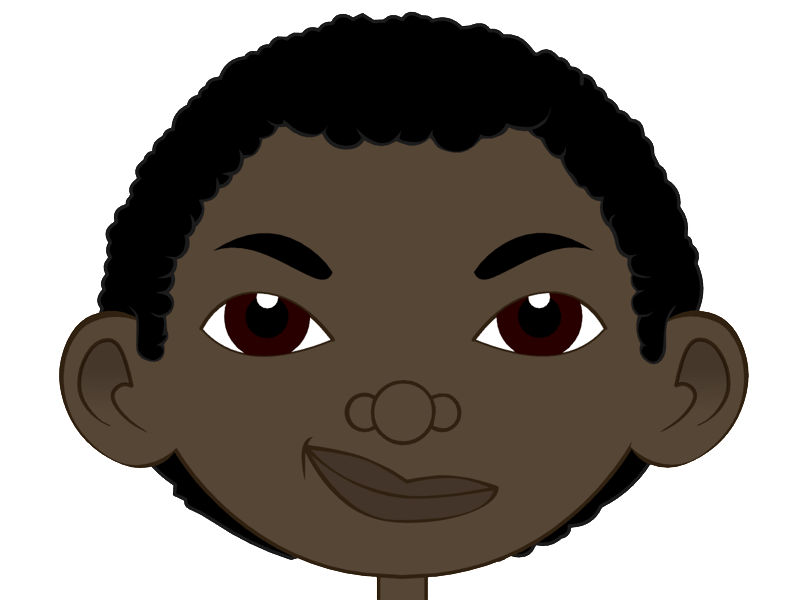
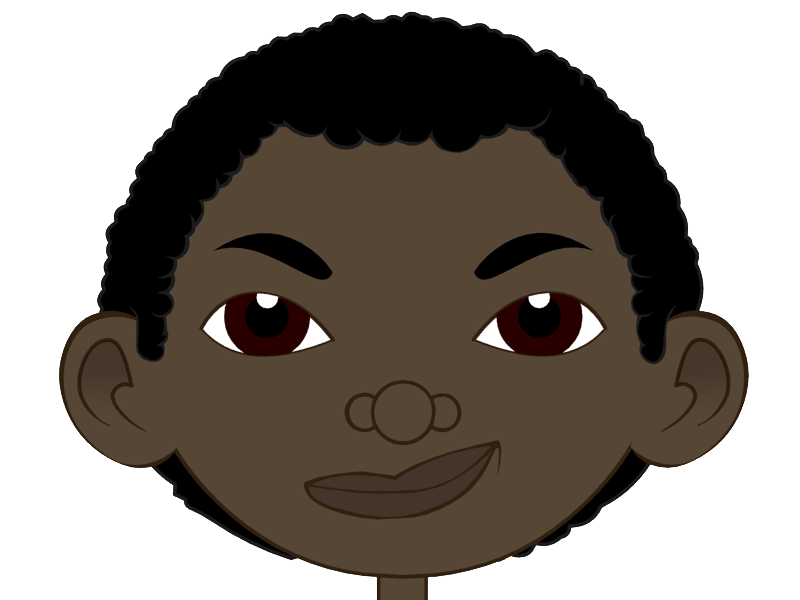
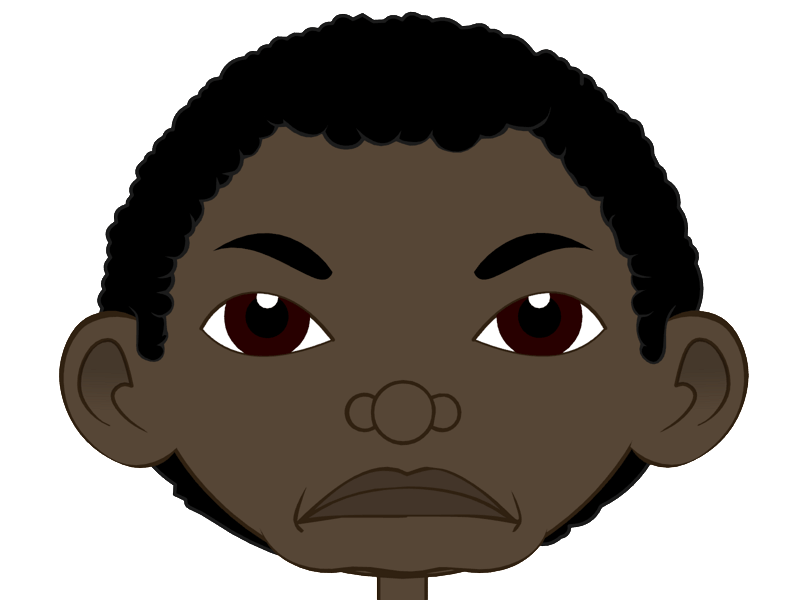
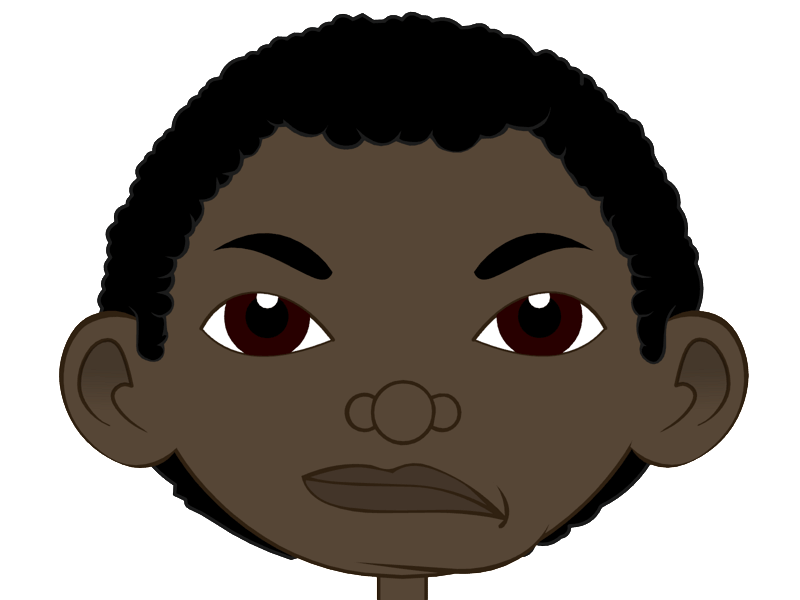
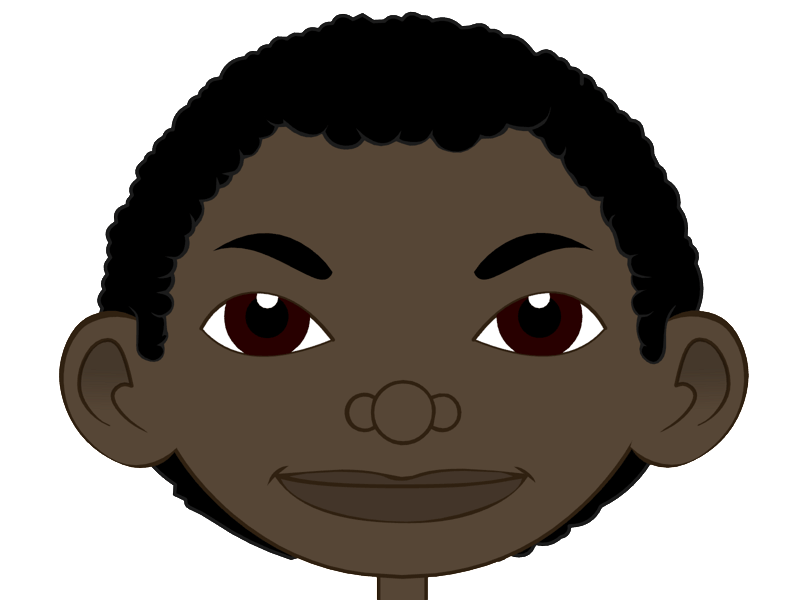
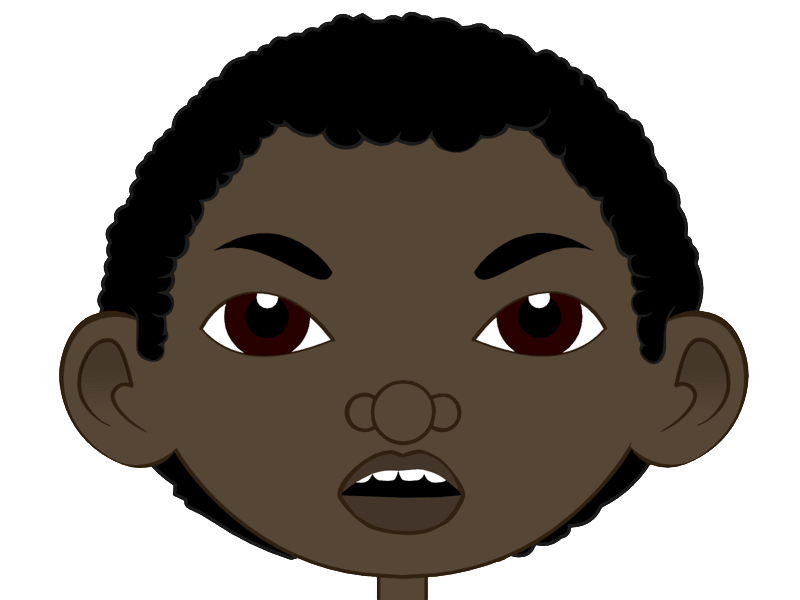
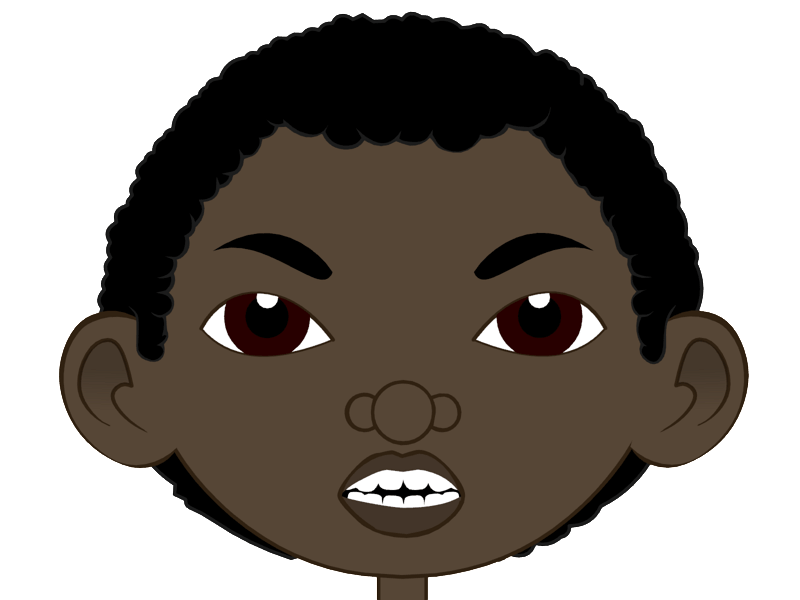
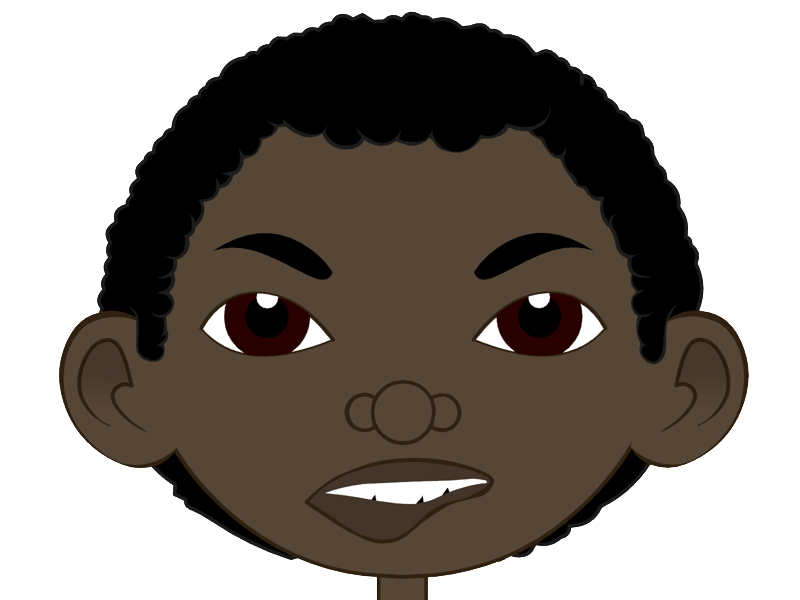
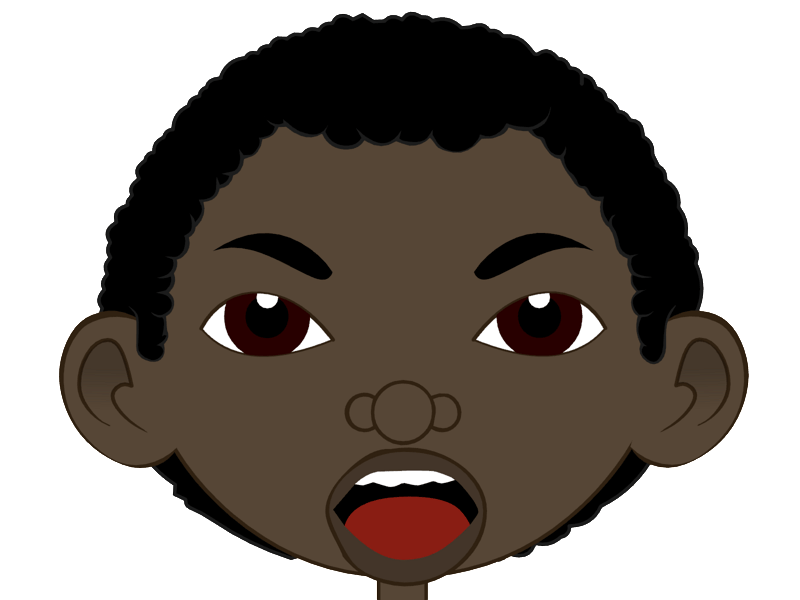
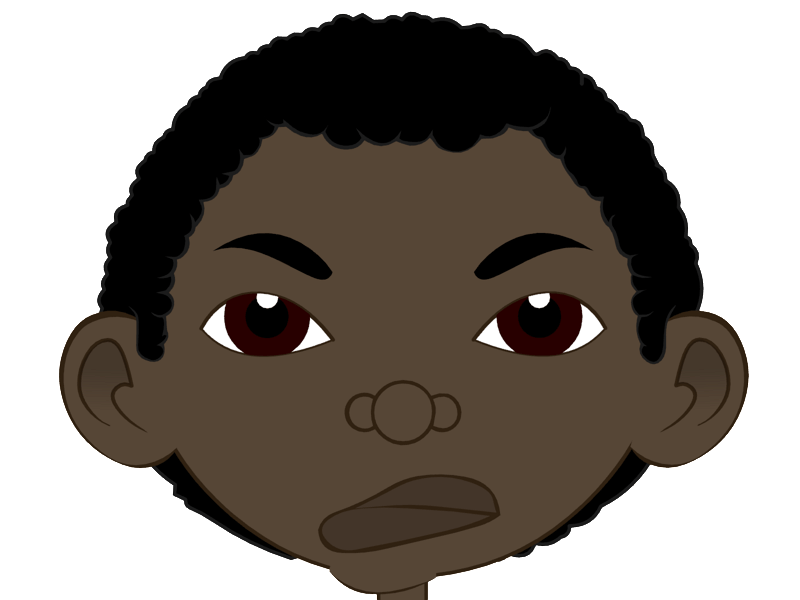
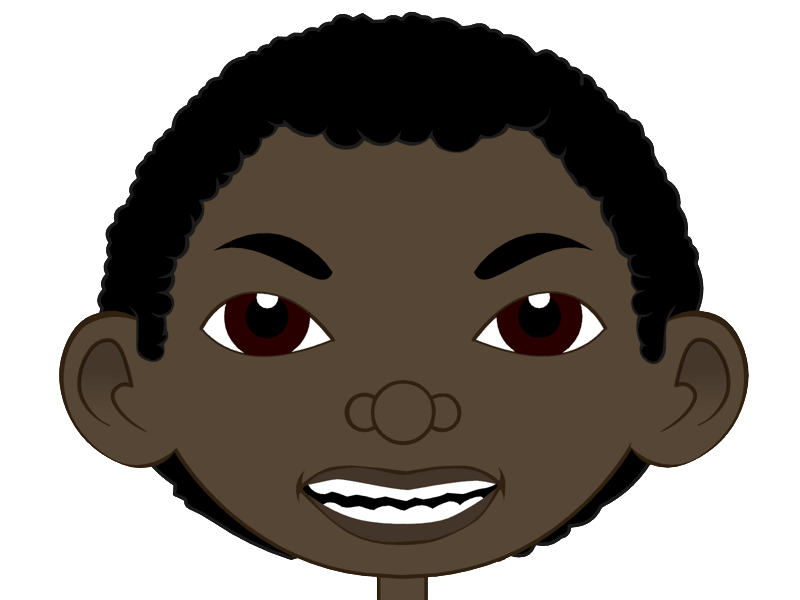
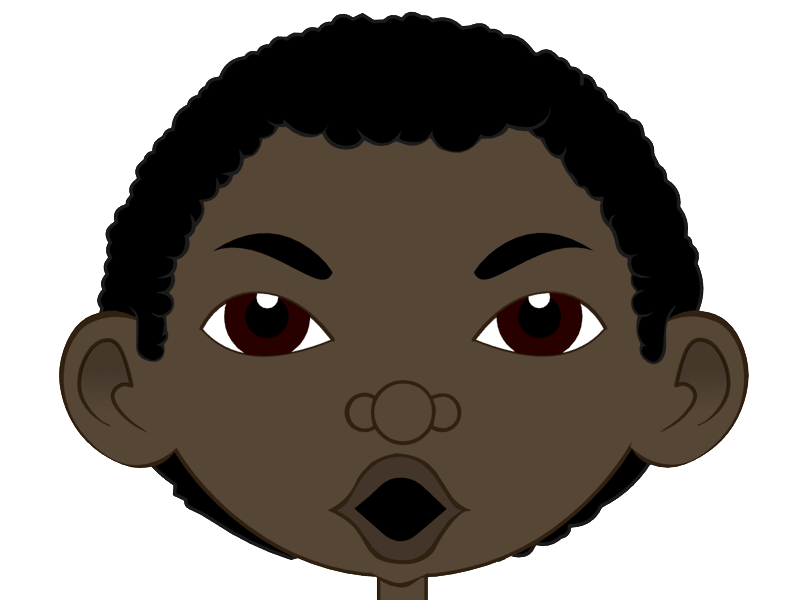
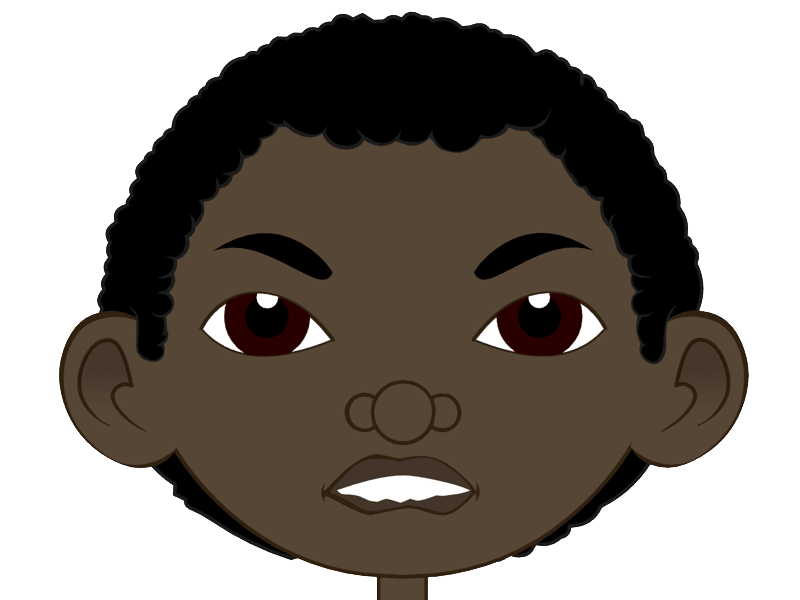
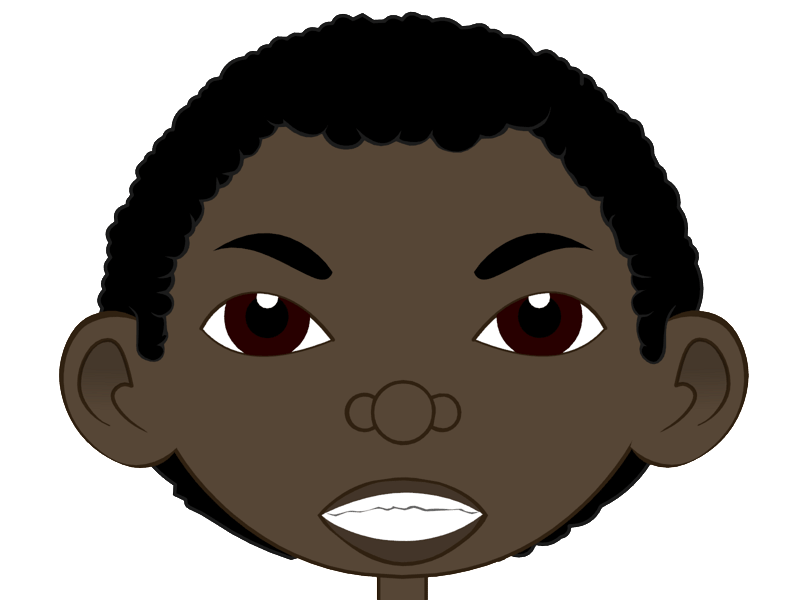
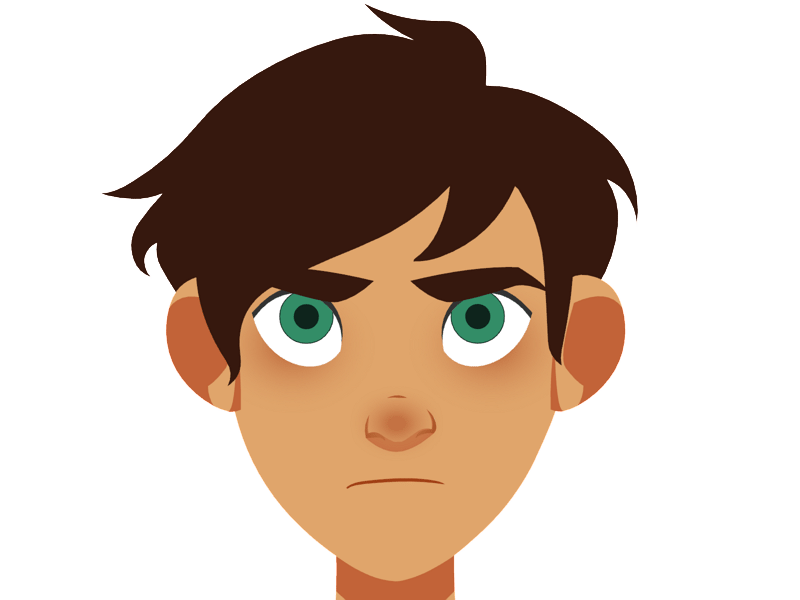
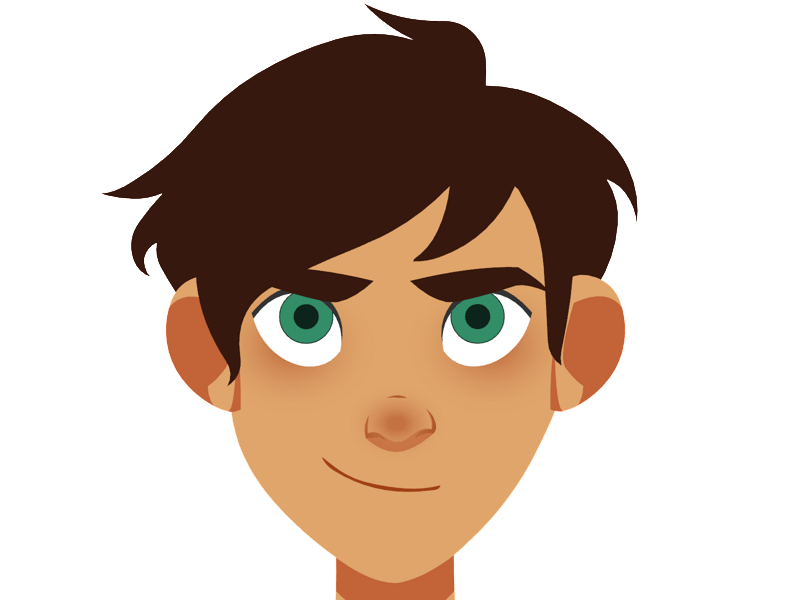
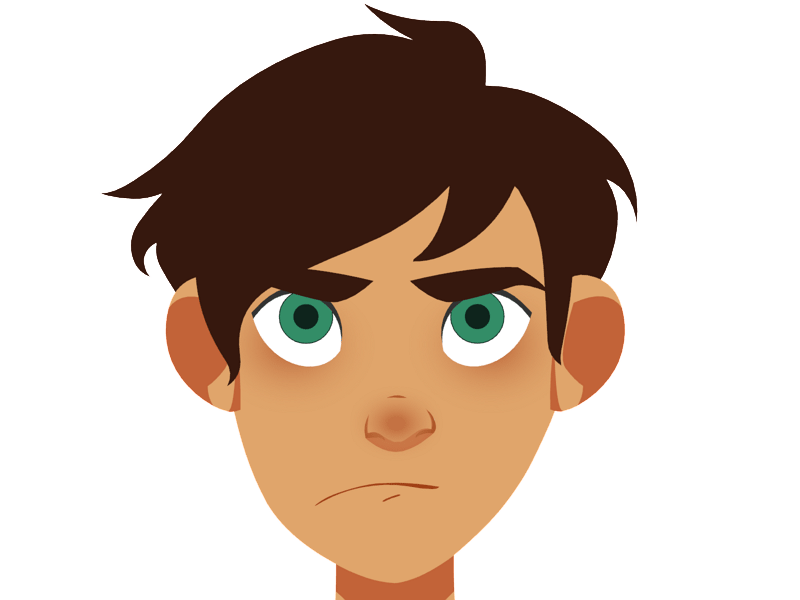
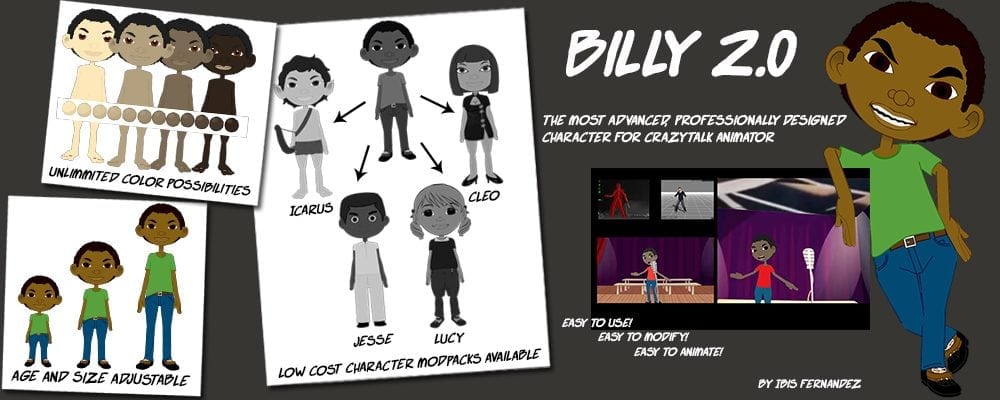
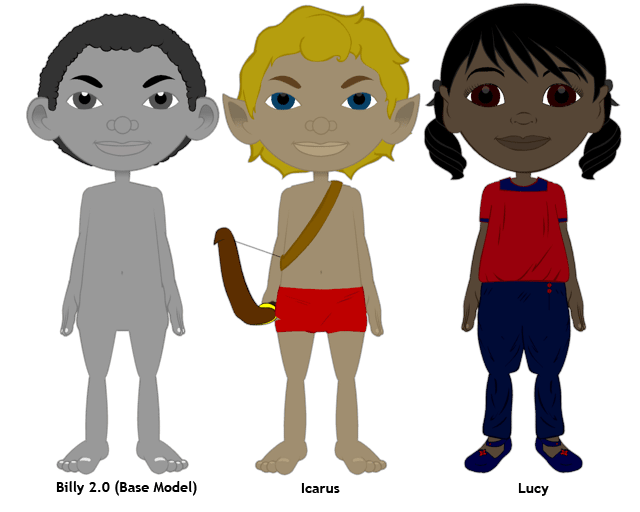
As you can see in the illustration above, all of these derivative characters were created from the same base model. This not ensures that we maintain their technical compatibility and allows for any of the the new body parts to easily be mixed and matched further in order to generate completely new and interesting character designs without actually having to draw anything new.
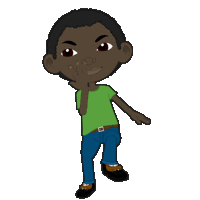
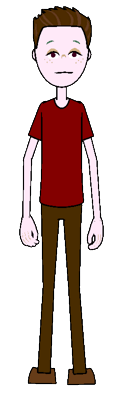
In the illustration to the right you can see how with very little effort, one can easily just mix and match the compatible body parts, tweak a few colors, maybe adjust scaling a bit and generate a derivative character that from a creative standpoint stays within that IP’s formula. This new character by sheer nature of how it was generated immediately also feels like its part of the same universe as the other characters it was generated from. can you identify which parts came from which character?
Summary
A Base Model is the first iteration of a character. It is the starting point or template used to build upon in order to create new and amazing derivative content that not only maintains compatibility between the various parts but ideally should also ensure a design cohesiveness.
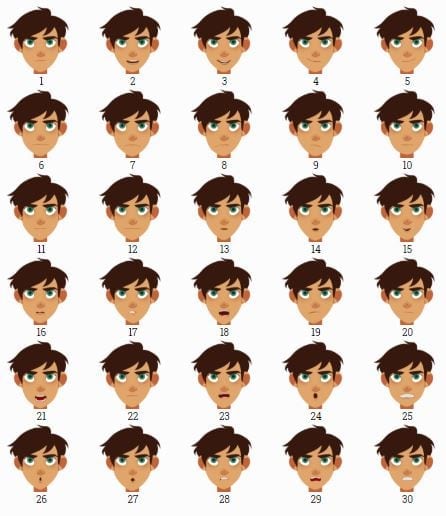
Formula is the design attributes that bind the characters together and makes them feel like part of the same world. Almost all successful IP’s will make use of formula and will stick to that same formula throughout all iterations of that same IP. In terms of CrazyTalk Animator characters, it is important that when modifying a base character from the source file level (the Flash template), that special attention be placed to the formula. If the character uses heavy black outlines then the new modifications should also make use of heavy black outlines. This of course is not a requirement, but sticking to the formula as much as possible will ensure that all your new modifications can later be seamlessly mixed and matched with other previously made characters parts from that same base model, and the end result will be new and interesting character designs that that you provably never though of. And they all will be perfectly cohesive as part of the same cartoon universe.
In CTA, while technically it’s perfectly possible to mix and match any body part regardless of base model and design ideology, the end results are usually amateurish and inconsistent. When creating a new IP such as short film, TV series, or presentation of any kind, try to stick to a unified formula in your characters. This will always yield results that regardless of artistic quality, will always seem more clean and professional. And when you do decide to break the rules, at the very least break them in a consistent manner such as the characters heads from one formula with bodies of another, as long as you maintain consistency, the illusion of those characters existing a real universe somewhere can still be maintained.